How to use the VPN4Games program on Windows
Installing VPN4Games Client Program
1.Double-click on the VPN4Games Client program.
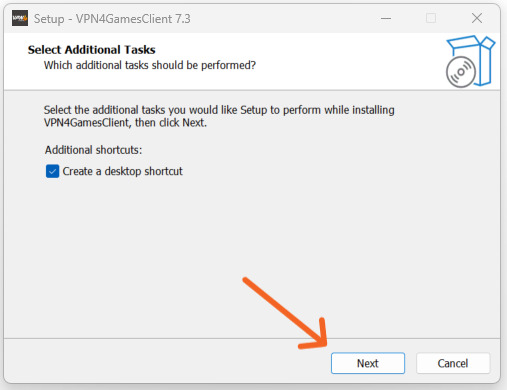
2.Click the 'Next' button.
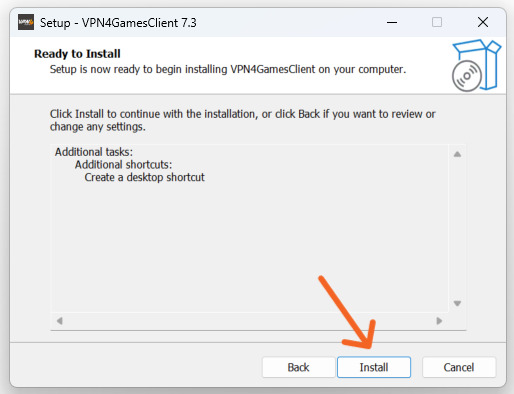
3.Then press the 'Install' button.
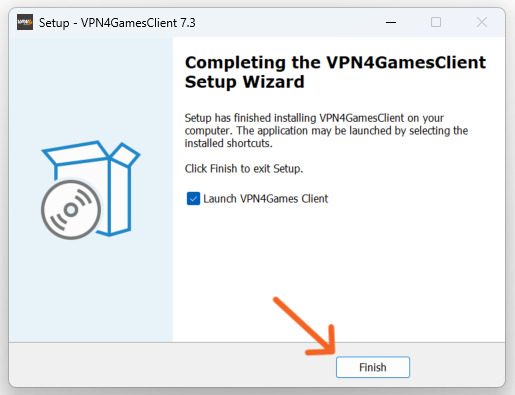
4.After the installation is complete, you can press 'Finish'.
Using VPN4Games Client Program
1.Open the VPN4Games Client program.
If you don't have an account, click on 'Signup Now' or register here: Register .
If you already have an account, enter your username and password, then click 'Login' as usual.

The system will take you to the main page of VPN4Games.

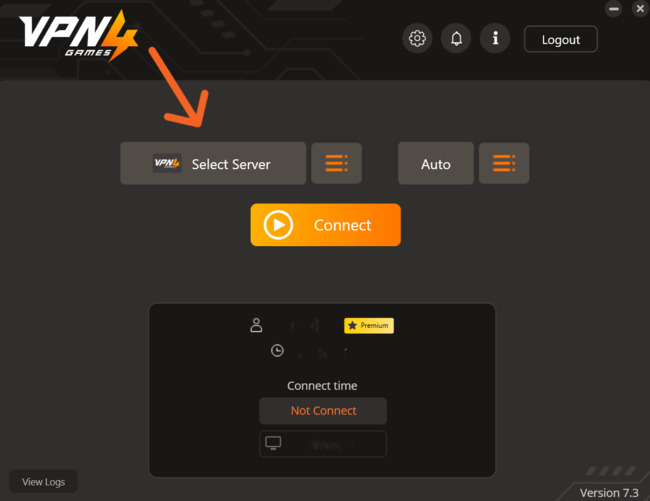
2.You can select the server you want and then press the 'Connect' button.

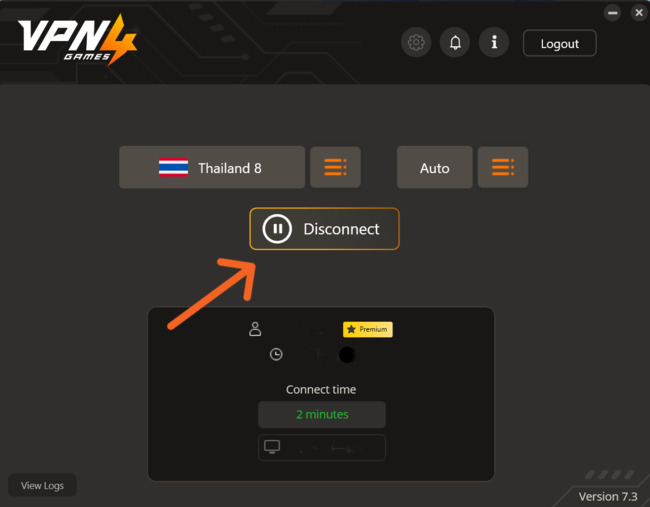
3.If you want to stop the connection, you can press the 'Disconnect' button.
Port To Connecting
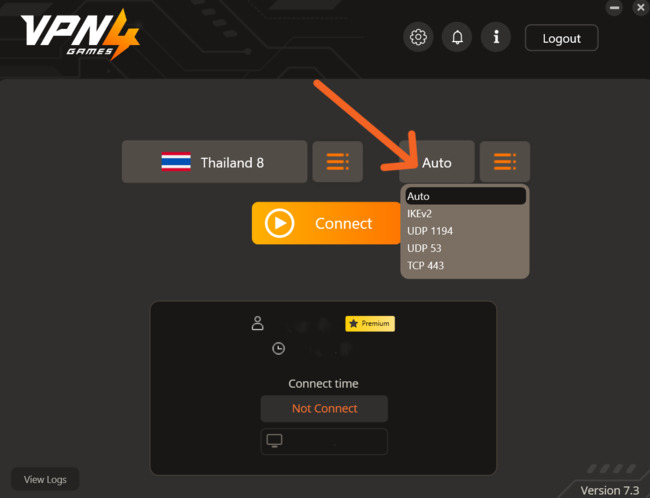
The part about selecting the port for the connection recommends using IKEv2 as it is the newest and fastest protocol. Alternatively, you can leave it on Auto. For more details, you can read at Here .
Setting Menu
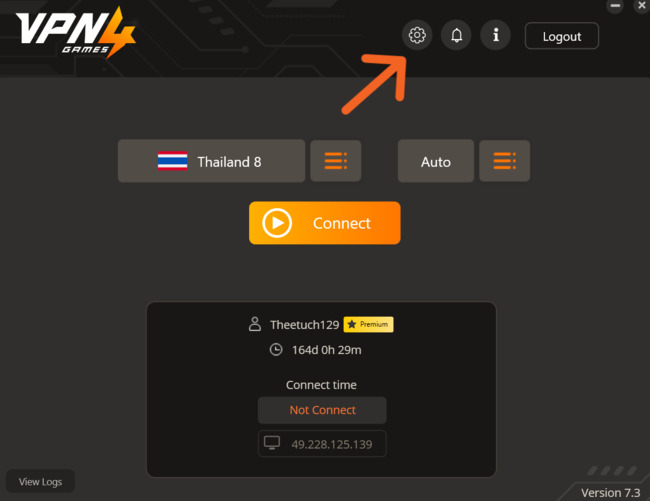
1.Click on the gear icon button to access the Settings menu.
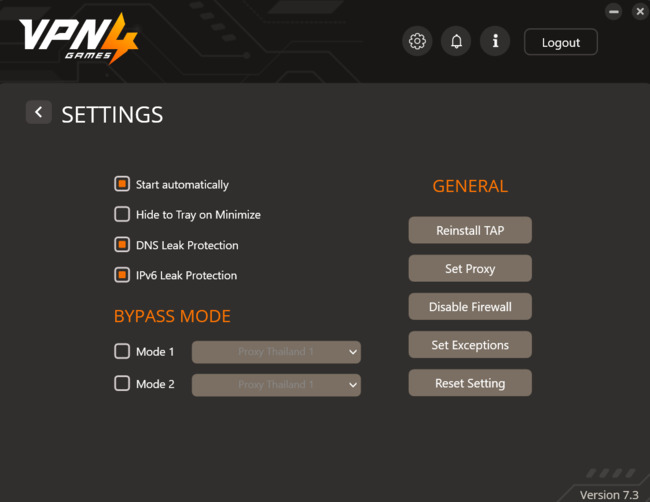
- Start automatically means to launch the VPN4Games program when the computer starts.
- Hide to tray on minimize is an option to minimize the program to the system tray at the bottom right.
- DNS Leak Protection ensures that the device's DNS is changed to the VPN server's DNS, hiding the IP for added security.
- IPv6 Leak Protection disables IPv6 to prevent IP leakage.
Menu: GENERAL
- Reinstall Tap button resets the TAP adapter if there are issues.
- Set Proxy button allows you to specify the destination address and port.
- Disable Firewall button is used when Windows reports firewall issues.
- Set Exceptions button is used to whitelist certain websites when you don't want to use VPN with them.
- Reset Setting button resets all settings to default.
Menu: BYPASS MODE
- It is a set of commands configured to bypass specific servers. Currently supports servers in Thailand, Hong Kong, and Singapore.